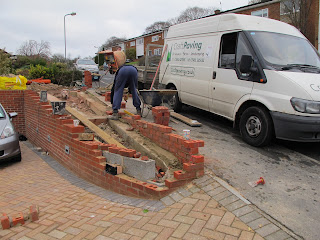
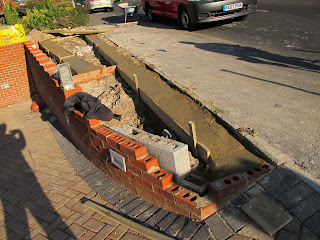
The final stage of the construction of the planter is shown below
 Here is the top (right hand side of Planter) showing the final Construction in prrogress you will that the narrow lower planter is now filled with Earth.

Here you can see the front wall completed it only needs a couple of bags 750KG each of Soil to be aded to fill up the planter
Here is the almost finished construction (still some lights to fit and connect)
these two photos below show the planter once the soili was delivered -> we even have som plants!
It is a good time to thank Bob and Liam for all the work that went into this last part of the project - the design sort of evolved during the Month and we are pleased with the end result.
 I hope that in 2012 the very last technical point of construction - fitting and wiring the lights will be completed and then the chief gardner will plant up the main planter in April so after january we will have to wait to see the final result of the planter fitted out with all sorts of different plants
I wishh my readers (I suspect not so many a happy new year in 2012


